
Have you ever thought about the reason behind certain secured threaded connections leaking? It almost always comes down to how you apply Teflon tape. While this may seem straightforward, doing it improperly can result in bothersome leaks and unsteady joints. On the other hand, when applied properly, Teflon tape provides a smooth, leak-proof barrier. This article demonstrates how to properly apply and wrap Teflon tape to achieve the desired professional results. Si keep learning!
1) What is a Teflon tap?
“Teflon tape, also called thread seal tape or plumbing tape, is a thin, flexible tape composed of polytetrafluoroethylene (PTFE). “
It is predominantly used in plumbing and pipe fittings to seal joints with threads. When Teflon tape is wrapped around the male threads of a pipe or fitting, it enhances the waterproof seal which helps eliminate leakage.
Moreover, Teflon tapes do not easily melt, rust corrode, or deteriorate in heat or chemicals, thus making them extremely useful in applications dealing with water, gas, or air systems.

- Color-code of Teflon Tapes
There is a huge variety of Teflon tape and each has a distinct color according to the application:
- Gray Teflon Tape: Keeps stainless steel threads from seizing.
- Pink Teflon Tape: For use in industrial commercial water lines.
- Yellow Teflon Tape: Used on gas lines, it is thicker and stronger.
- White Teflon Tape: Used mainly for plumbing work with water pipes.
- Green Teflon Tape: This can be used on oxygen lines, it does not contain petroleum products.
2) How to Use Teflon Tape
Here’s a step-by-step guide on how to use Teflon tape threaded connections:
i) Clean the Threads
- To begin, check the threads on your pipe or fitting joints. They should not have any dirt, debris, rust, or grease.
- Next, the threads should be wiped clean with a dry cloth or scrubbed with a wire brush. This stage is critical as some leftover debris can prevent the tape from sticking and therefore result in leakage.

ii) Position the Tape Correctly
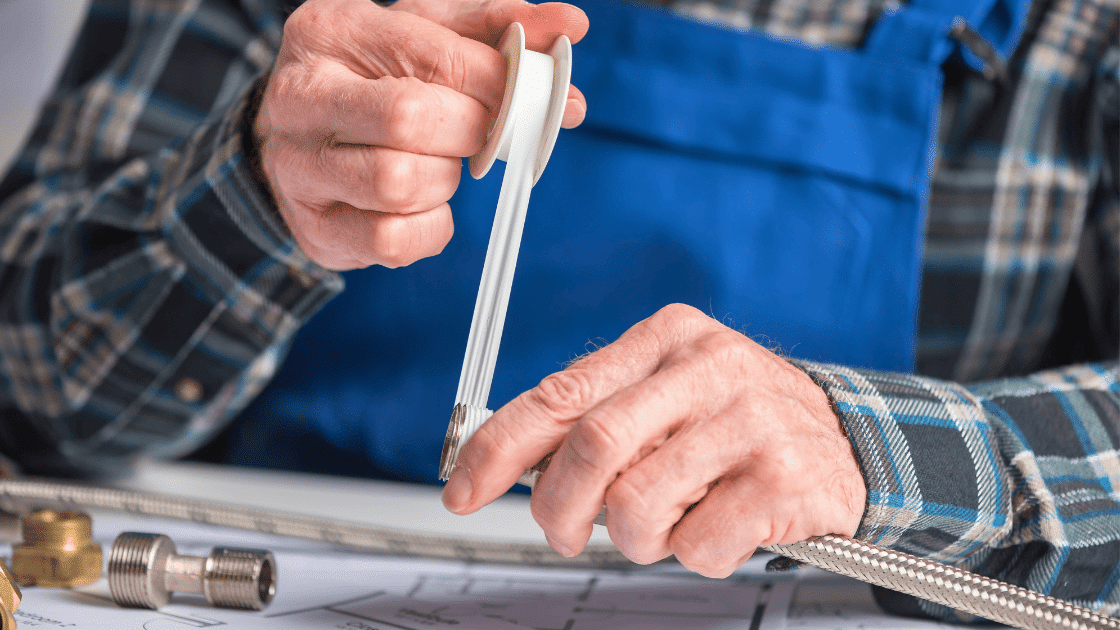
- Once the thread is clean, grab a hand’s worth of the pipe or fitting and grab a roll of Teflon tape in the opposite hand.
- Next, bring the tape to the top of the thread ( close to the opening of the pipe where the connection starts ).
iii) Wrap in the Right Direction
- At this stage, it’s crucial to wrap seal tape in the same direction as the threads, which is clockwise.
- Wrapping the tape in the correct direction helps guarantee that it will remain intact when you tighten the fitting. If the tape is wrapped counterclockwise, it will unravel as you secure it tight.

iv) Apply the Tape Evenly
- Hold the tape tightly to maintain an even amount of tension as you guide it around the threads.
- Move along the length of threads step by step while ensuring you overlap each previous coverage to some extent.
- Ensure that the tape does not go over the threads, as this will conflict with the fitting and make it impossible to seal properly.
v) Use the Right Amount of Tape
- For most cases, 2 to 3 wraps of tape should be sufficient. However, gas lines and larger fittings may do well with 4 to 5 for extra security.
- Remember not to overuse tape, otherwise tightening the fitting may prove problematic.

vi) Tear or Cut the Tape
- After you are done layering, pull the tape backwards and rip it off. It should come off cleanly.
- Using your fingers, press the tape down tightly to the threads so it will stay on when you assemble your product.
vii) Assemble the Connection
- After sufficiently wrapping, set the pipe or fitting with the respective counterpart.
- Start to screw in the connection by hand, the thread should engage and the tape should compress.
- When the connection is tight, use pliers or a wrench to tighten it. Do not overtighten as the threads and tape may get damaged.

viii) Test for Leaks
- In the end, check the connection by starting the water, gas, or air system.
- If there are signs of leakage, disconnect the joint, remove the tape, and refix it.

By following these steps carefully, you’ll ensure a strong, leak-free seal for your plumbing or gas fittings.
3) Tips for Best Results
Here are some helpful tips to ensure you get the best results when using Teflon tape:
- Use the Right Tape for the Job: Note that not all Teflon tapes are the same, for example, yellow tapes are for gas lines while white are for water lines. Ensure that you are using the appropriate type of tape for the job needed.
- Don’t Overwrap: Generally 2 – 3 wraps of tape should be more than enough. Too many passes of tape can cause the connection to never reach tight space which in turn leads to leaks.
- Apply Tension: Apply tension on the tape while wrapping it around the threads to guarantee that it sticks well and evenly. This also prevents tape from slipping during the installation phase.
- Wrap Clockwise: Wind up the tape in a clockwise direction as it helps in staying fixed with the fitting. This further prevents the tape from rolling off when the fitting is tightened.
- Don’t Cover the Entire Thread: Do not apply the tape past the threaded region. This hinders the place from firmly closing the fitting.
- Use Enough Pressure When Tightening: Make sure to secure the fitting firmly, but not too aggressively as this might break the thread or destroy the tape.
- Check for Leaks: Never forget to check for leakage before or after putting on the connection if any parts are tagged along when removed. If you see leaks: take it apart, retape, and re-tighten.
Following these tips will help you achieve a strong, reliable seal every time you use Teflon tape.
4) Conclusion
So, Teflon tape remains one of the most basic yet critical tools required to provide optimal connections with complete leakage protection in pipes, gas lines, and other fittings. As described earlier, knowing the fundamentals, like which tape to select, how to apply it, and key tips, will allow you to approach your projects with much greater confidence.


