
Paint can do a lot for any area, which means it can make the space feel more appealing. However, uneven edges or excessive smudging can ruin the aesthetic. However, many people face problems with the application process, including using the proper tape, applying it correctly, or even taking it off. So, knowing how to apply the masking tape properly is very crucial for achieving neat edges. This guide will provide you with tips and tricks that professionals use to achieve their ideal paint job. So, let’s get started!

Figure no 1 Masking tape
1) Tips for Achieving Flawless Paint Lines
Here we come with some easy but crucial tips to enhance your painting experience. Let’s discuss all tips one by one to be a masking tape master;
Choosing the Right Masking Tape for the Job
Investing in only one type of tape for different tasks is not a good idea. There are many different types designed for different tasks and surfaces. For example, tapes that are sticky work best for rough surfaces while at times looking for a clean finish might require removing excess tape which means the surface should be smooth. The right tape can provide clean edges without posing any further issues.

Figure no 2 Choose the right tape
- Low-Tack Tape: Stick to walls that have not dried properly and can peel off if tugged on too roughly.
- Medium Tack Tape: For general wall painting and trim, it works best where a balance between good adhesion and easy peeling is required.
- High Tack Tape: Adheres sufficiently to rough surfaces such as brick, concrete, or textured walls where a stronger hold is required.
- UV Resistant Tape: For outdoor projects needing sun protection against adhesive breakdown.
Preparing the Surface for Proper Adhesion
No part of the wall will be treated until the correct surface is attained. Cleaning and smoothing the area helps the tape stick properly.
- Wipe Off Dust and Grease: Rub the surface gently with a moist cloth or an alcohol cleaner to remove any leftover debris.
- Smoothen Rough Edges: To properly position the tape, sand down any jagged areas to achieve a leveled-out place.
- Dry Out The Surface: Fresh moisture weakens adhesiveness, so try to dry out the surface first.
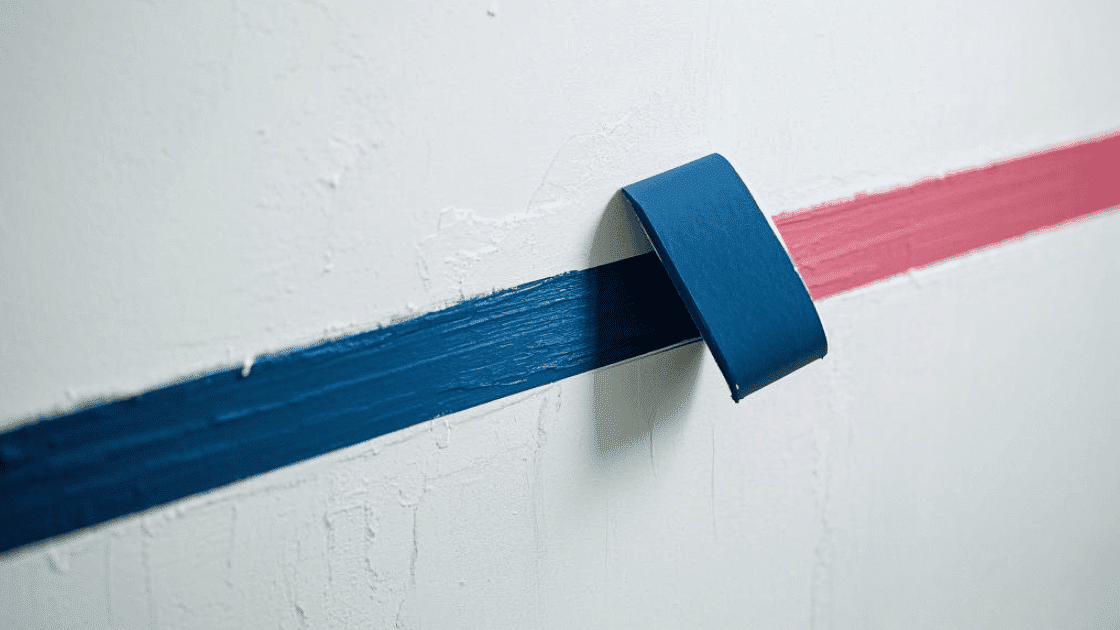
Applying the Tape Smoothly and Firmly
Missed tape bubbles or gaps cause unwanted paint lines. Correct placement of masking tape is essential in order to receive clean results.
- Roll Open And Place At A Single Angle: Prevents twisting of the tape. Too much enlarged tape leads to peeling, and too much depression breaks the surface leaving it exposed.
- Slight Gaps Whenever Stips Are Placed Together: While jointing stips, make sure there is no gap in the overlapping part while covering large areas. The middle section should be made a little smaller as compared to the two sides.

Figure no 3 Apply tape properly
Sealing the Edges to Prevent Paint Bleeding
Use some masking tape to seal the edges before painting the sides, this will help in providing a clean break-free surface.
- Fingernail To Tape Ruler, Or Other Plastic Tools: Using a fingernail or other tools, press the tape to ensure it sticks well and doesn’t roll away.
- Lightly Coat The Base Paint: For tape edges, paint the area which is next to the tape light so there is no paint seepage.
You will be amazed at how precise the edges look when the tape is pulled away.

Figure no 4 Sealing the edges of the tape
Removing the Tape at the Right Time
Peeling the tape off the wrong way can cause rough and torn edges. Yes! Moreover, the time of removal of tape depends upon the type of paint used.
- For Water-Based Paint: The Half An Hour to One Hour time slot after putting on the paint is the best time to pull off the tape.
- For Oil-Based Paint: If oil-based paint was applied, lift the tape after a full day. Otherwise, take a sharp knife to cut along the edges and then begin peeling.
- Pull at a 45-Degree Angle: As you slowly peel the tape throwing it at the proper angle will help smoothen the rip, helping prevent tearing.
2) Advanced Techniques for Professional-Quality Paint Lines
i) Creatively Painting Designs with Masking Tape: Masking tapes are not only used for straight edges. It can also be used for adding particular styles to your painting works.
- Geometric Patterns: Tape off areas for bold designs such as triangles, stripes, or grids.
- Ombre Effects: Achieve ombre-style blends by taping off sections and gradually lightening the desired shades.
- Two-Tone Walls: Precise taping enables clear cuts between different colors on the walls.

Figure no 5 Professional quality paint lines
ii) Detailed and Curvy Designs: Curves are more challenging to work with but beginners can achieve success with the services of the right manual devices while using rounded edges or complicated structures.
- Use Flexible Masking Tape: Special tapes (designed for curved tape work) well for rounded shapes.
- Apply Small Strips: Layering and cutting small pieces gives better control over curved designs.
- Press and Smooth Each Section: Paint will seep through the gaps without proper prevention so ensure firm adhesion to tightly press each section.
3) Common Mistakes to Avoid
Here’s some handy advice that can help guide you in avoiding mistakes:
! Incorrect Using Tapes on Varied Surfaces: Choosing the right tape can get tricky. Use low-tack tape on delicate surfaces, or else, it will not adhere properly leading to masking issues. In opposition to that, high-tack tape can stick too much on rough surfaces which will make it difficult to cleanly take it off.
! Neglecting the Preparation Work: The preparation work involved is just as important. A surface that is damp will reduce the effectiveness of the tape. It can also cause the paint to go underneath the tape ruining the edges. Before applying, tape make sure the surface is clean and free of dust and moisture.
! Incorrect Timing When Removing Tape:
- Too Soon: When the tape is removed while the paint is still wet can result in a big mess
- Too Late: As time goes on, the tape can become too firm, increasing the chances of dried paint when removed.
! Pulling the Tape while Applying It: When applying tape, take care to lower the chances of it being lifted off. If the tape is pulled too hard, it will come off, so simply apply the tape without stretching, pressing down to firmly stick the tape.
4) Conclusion
Smoothing tape around the edges can be beneficial whilst painting walls, cars, or creative wall art. Moreover, correctly rubbing off the tape also leads to avoiding issues to enhance the precision of the edges with sharp boundaries.
Are you looking to enhance the quality of your painting? Visit Jiujutech.com for premium tapes. Jiujutech is highly recommended if you require professional masking tapes with high-precision sticking and sensitive peeling, along with art and craft. You can contact us right now just by clicking here!


