

Thermal paste, a type of Thermal Interface Material (TIM), is an effective solution to manage the thermal conductivity of your electronic devices. However, if applied incorrectly, it can cause several issues with your electronic device. Like overheating and sudden crashes. Plus, it can also damage the internal components.
That’s why, to avoid any damage to components, you must know the best way to apply thermal paste to the CPU. And that’s exactly what this guide covers. In this guide, we have explained the accurate method to apply thermal compound. By the end, we’ve also shared a few tips for you.
So, continue reading to learn more!
What is Thermal Paste?
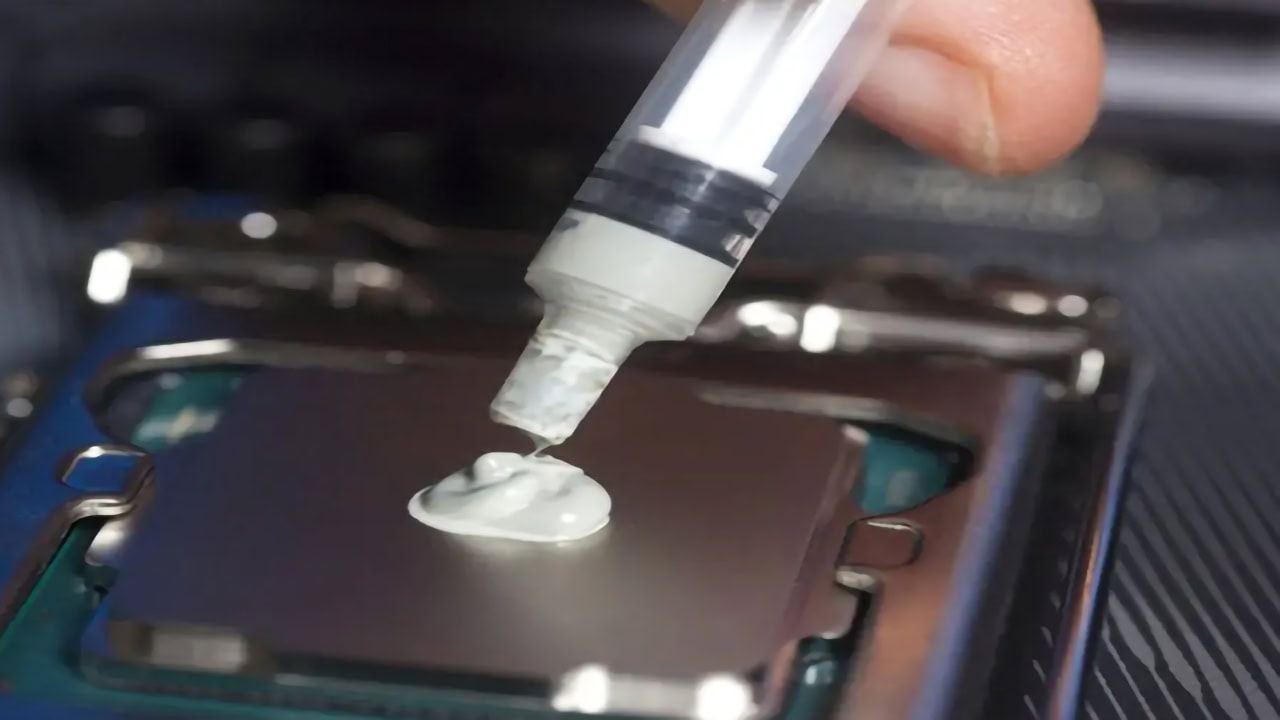
Thermal paste (often known as thermal grease, CPU grease, or thermal interface material) is basically a thermal conductive material (not an electrically conductive material). This compound is super soft, pumps out for easy handling, and is typically applied between two surfaces: Heat Source (CPU) and Heat Sink (CPU’s cooler).
But how does this compound work? When applied onto the CPU, its thickness fills up the air gaps between both surfaces. By filling gaps, it reduces thermal resistance (the ability of a material to resist heat flow) and enhances thermal conductivity (the ability of a material to allow heat to pass through). And as a result, your system stays stable and cooler and improves overall performance.
Thermal Paste VS Thermal Pads
When it comes to managing the heat transfer ability of the CPU, grease is often compared with thermal pads. Even though they both serve the same purpose, their effectiveness may vary based on how much thermal conductivity you want to improve.
Grease is a suitable choice for you if you want a better thermally conductive material. Thermal pads (or thermally conductive pads) with silicone, silicone-free, and even fiberglass reinforced designs, on the other hand, may suit you best if you want a quick-to-apply solution without any air gaps or uneven surface.
They are both different types of thermal interface material and cater to the same applications. Generally, CPU paste has good thermal conductivity in comparison with silicone and silicone-free thermal pads. However, few high-end graphite pads (10–20 W/mK) are better than paste, but they are costly.

When Should You Apply Thermal Paste?
Keep in mind that you don’t always require a thermal solution. You should apply or reapply the grease onto the CPU when you:
- Want excellent thermal conductivity
- Build a custom PC
- Replace your cooler or CPU
- Remove cooler assembly (for cleaning purposes)
Typically, after 2–4 years, you should also reapply the thermal grease. Because over time it dries out and its thickness loses its efficiency, which often causes the air gaps.
Common Thermal Paste Application Techniques
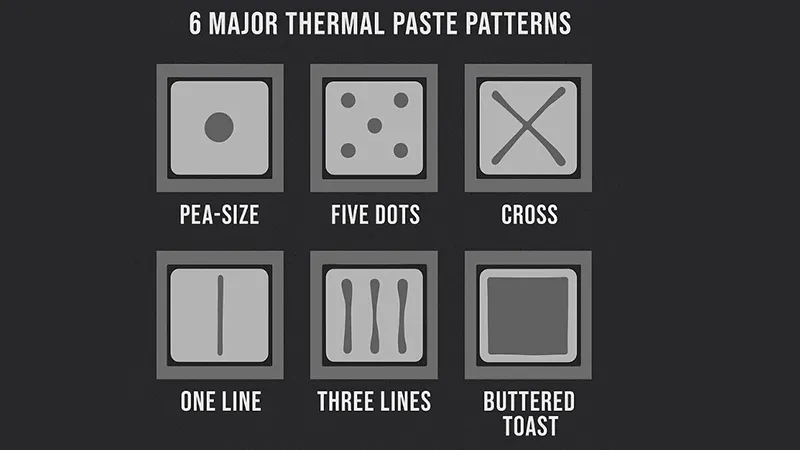
Mainly, there are six different ways in which you can apply thermal compound onto the CPU. Let’s now go through each one of them:
- 1 dot method (often known as “P” method): It’s very easy, risk-free, and fill gaps properly.
- 5 dots method: Most ideal for applying to larger dimension IHS.
- Single line method: This one is best suited for a rectangular-shaped CPU.
- Three lines method: It’s also ideal for larger processors.
- X Method (often known as the Cross method): Provides full coverage but may require application experience.
- Buttered toast method: This one also ensures fuller coverage to fill all gaps (but with thicker paste). Thin ones can overflow.
Best Way to Apply Thermal Paste on CPU in 6 Steps
Here’s the best way to apply paste to the CPU:
Step 1. Power OFF Your System
Firstly, unplug your system from the wall outlet. We also suggest you disconnect all the connected cables or devices attached to your system.
Step 2. Gather All Required Materials
The next step is to gather all required materials in one place. Below, we’ve explained a checklist of materials that are advised to have with you:
- High-quality thermal compound paste. It must be from a reputable brand.
- A CPU cooler/heat sink.
- Lint-free cloth. Alternatively, get a non-shedding paper towel or cotton swab.
- Isopropyl alcohol (90% or higher).
- A plastic card. OR an applicator, or spreader.
- Screwdriver: You need this for cooler mounting.
Step 3. Clean the Surface
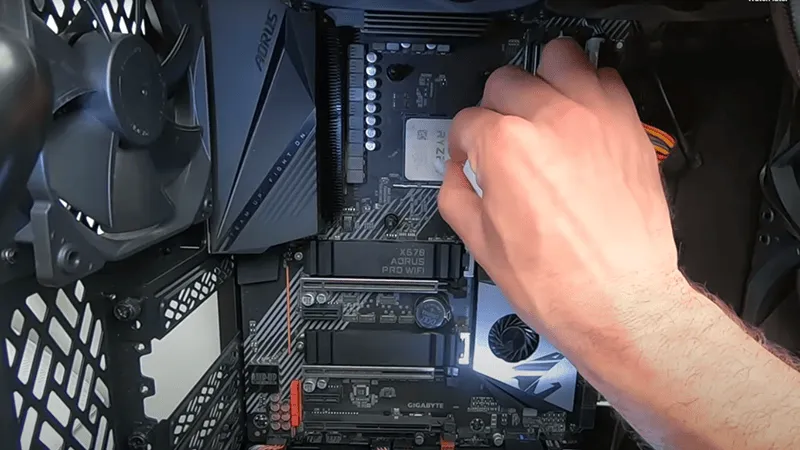
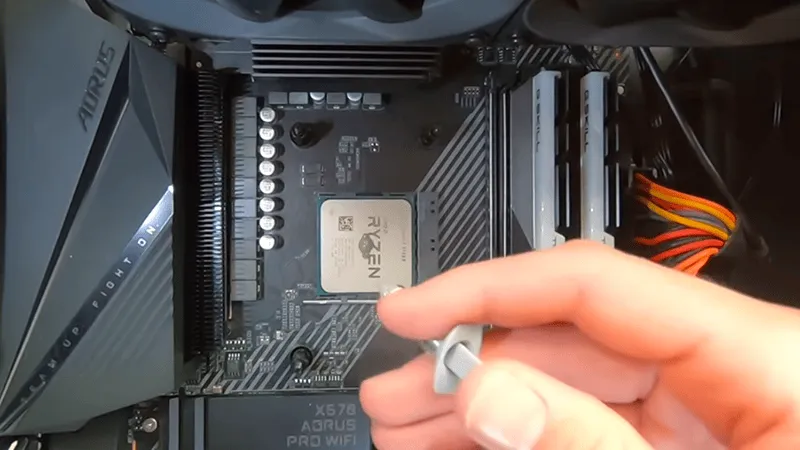
After you’ve gathered the material, you need to clean the CPU surface. To clean the CPU, you first need to remove the old CPU cooler. Here’s how to do it:
First, locate the cooler. Then, loosen the cooler screws using a hand or a screwdriver. And then move the cooler back and forth. Lastly, hold it up and pull it to take out the cooler assembly.
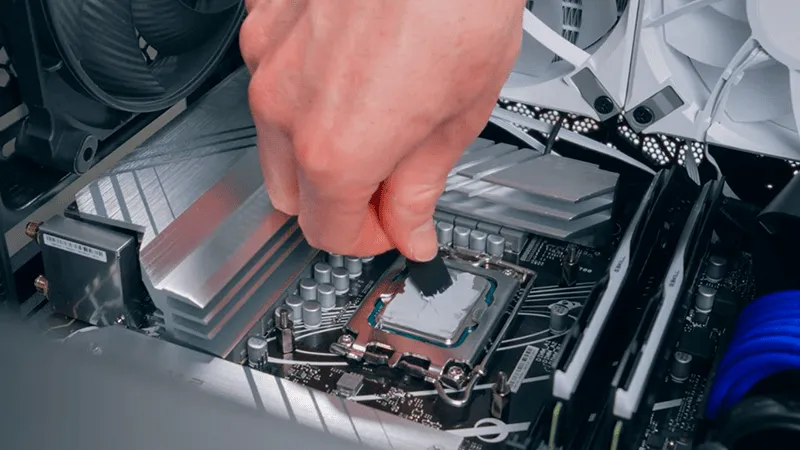
After you are done removing the cooler, you’ll see the old layer of paste over the CPU’s heat sink. That’s the surface you need to clean in this step.
To clean the CPU interface, grab a lint-free cloth or cotton swab and pour a little amount of 99% isopropyl alcohol over it. Next, using a cloth or a swab, wipe the heat sink in one direction.
Make sure you do not move the cloth in circular order (or push hard). After you’re done with the cleaning application, wait about a minute at least. This time, let the CPU area dry out completely.
Tip: While the surface is drying, avoid touching it with your hands.
Step 4. Apply the Thermal Product
Note: Before you apply paste, make sure you have replaced the CPU cooler beforehand. And it’s just ready to fit!
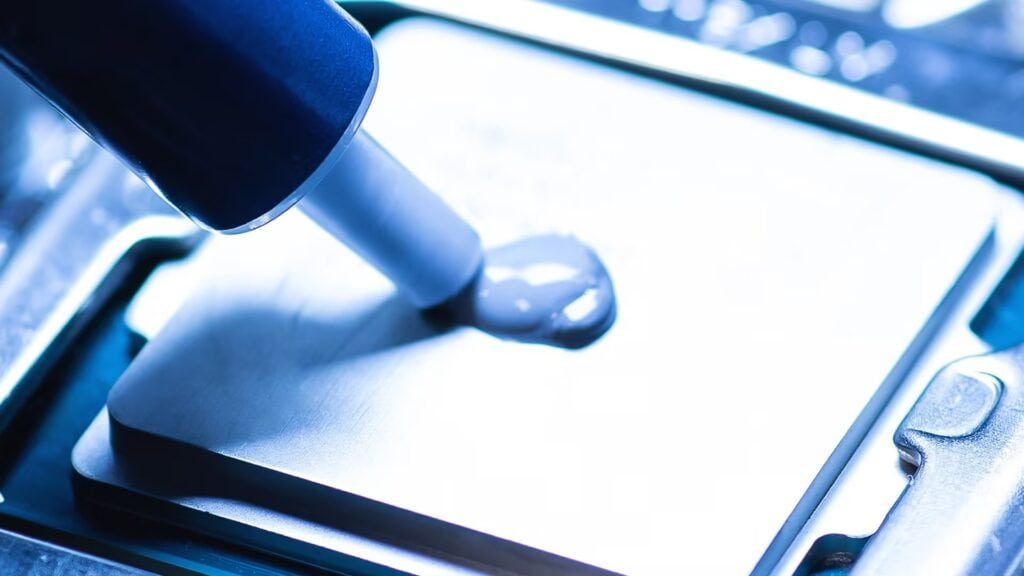
Next up, do a soft push, and pour the pea-sized amount (about 0.2–0.3 ml) of product on the CPU’s IHS (heat sink), exactly in the center. For more information about thermal paste and its importance in CPU cooling, you can also apply the paste using another method we explained in the above section.
Note: On contrary to thermal grease, users often use thermal pad. However, it’s crucial to choose right fit for your present CPU’s design and heat-transfer range!
Step 5. Spread the Paste and Install the Cooler
Now that you have poured the paste onto the heat sink, it’s time to spread it onto the components. Now, to spread the paste on the heat source and cooler components, two common ways are used:
Method 1: Using a plastic card or spreader:
Grab a card (or spatula) and spread the paste evenly on the CPU. Afterward, simply mount the cooler back onto the CPU. Just make sure you don’t apply a little quantity to the heat source. Otherwise, air gaps will be left.
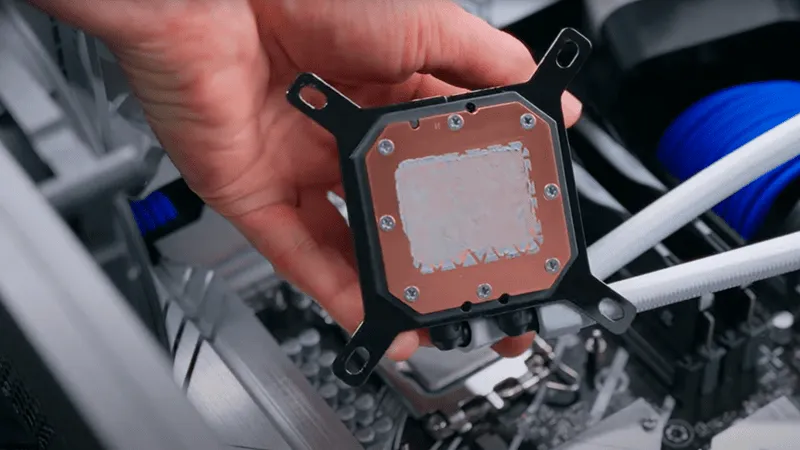
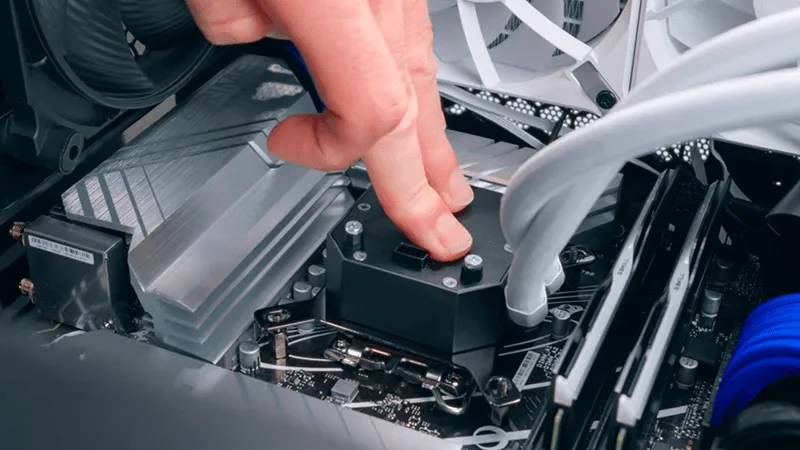
Method 2: Using the CPU Cooler’s Baseplate.
Here’s how you can do that:
- Grab the cooler and place it back onto the CPU. Make sure when you put it back, you hold it with soft yet moderate pressure. This way, the paste spreads evenly with no gaps.
- While you’re holding it over the CPU, next up, secure the cooler using screws. Make sure you first put in all the screws. And then, tighten them.
Step 6. Double-Check the Installation
Now check if any paste residue is visible around the CPU’s edge. If so, gently clean the paste from the sides. And that’s it.
Our Tips For Best Results
Jiuju is one of the leading Chinese thermal products manufacturing companies and providers. And from our experts, here’s a summarized list of the best tips for you:
- Prefer Quality to Price: Because most cheap thermal material doesn’t have good fluidity. That actually leads to unwanted gaps and poor thermal conductivity and performance.
- Apply the Right Thickness: If you apply too much TIM, the paste could overflow. Pouring a thin layer, on the other hand, can leave air gaps. So, apply in a moderate ratio.
- Clear Old Paste First: If you apply fresh material over dry one, it will trap air and increase heat resistance instead of lowering it. So by applying cleanly, you ensure the enhanced performance.
- Store Properly for Future Use: After every use, make sure to seal it with the cap. This way, you’ll always have an alternative thermal material ready for future use.
- Get the Right Type of Paste: You’ll find different types of paste (silicone, ceramic, and metal-based) in the market. However, each one of them caters to different designs, application requirements, and heat transfer elements. So, make sure to make the suitable choice.
Choose Jiuju’s Thermal Paste and Why

We believe that every product should never be easy to use and must be a perfect fit for your thermal needs. With over two decades of expertise in manufacturing thermal products, Jiuju’s expert team ensures a handy design with a soft yet moderate consistency so that the paste works best with IC packages and fills gaps evenly. For those seeking reliable packaging solutions, consider customized tape rolls for packaging from leading suppliers in China.
Whether you need paste for automotive, engineers, or medical electronics, our thermal solution is designed to meet every present application. Even if you want other thermal materials like thermal pads, Jiuju also provides wide range of thermal pads. From silicone-based thermal pads to graphite-based thermal pads and silicone-free thermal pads, we offer a wide range of thermal pads. These pads can be easily cut, applied, and fill air gaps efficiently.
Wrap Up
To wrap it up, the best way to apply thermal paste is to use a pea-sized amount (approximately 0.2-0.3 ml) of material over the CPU. However, the quality of your paste matters too.
If you’re not sure which paste to get, browse through Jiuju thermal grease range. Our thermal solutions come with thermal conductivity of up to 6.5 W/mK, high-density. We have a large stock available in our factory. We also providea thermally conductive pad. So, contact us today to get a free quote!
FAQs Related to Best Way To Apply Thermal Paste
How does grease improve thermal conductivity and reduce thermal resistance?
It does so by filling the small gaps between the heat interface and the cooler.
Should you squish or spread thermal paste?
We don’t recommend squishing. Instead, just pour a pea-sized drop or a thin layer of grease. Then, spread it using a spreader without pressure. This helps ensure no microscopic gaps.
Is choosing a thermally conductive thermal interface really important?
Absolutely. The right selection for your application’s needs will ensure proper heat transfer. Even the right choice helps extend your PC’s lifespan.
Do air gaps affect the thermal conductivity of the CPU?
Yes. Because if you don’t properly spread the thermal interface material, the CPU surface becomes uneven. And an uneven surface is subject to poor connection issues between the CPU and the cooler, affecting thermal conductivity.


