
Have you noticed certain changes in your computer’s ambience recently? Maybe it now runs hotter than it normally would, or the fans suddenly cause more noise, even though they used to run silently before now? If any, or all of these sounds familiar, the culprit behind this could be a tiny and often forgotten component in your CPU: thermal paste.
Just like every other thing in our system, thermal paste does not last forever. In this comprehensive guide, we will explore everything you need to know about the lifespan of thermal paste, and most importantly, replacing old thermal paste.
How Long Does Thermal Paste Last?
There is no definite figure to answer this question. Typically, a quality thermal paste is expected to be in good working conditions for several years, but its actual lifespan varies, depends on certain considerations. These factors range from the quality of the thermal paste used, to the electronic environment in which it is used.
Factors That Influence the Lifespan of Thermal Pastes
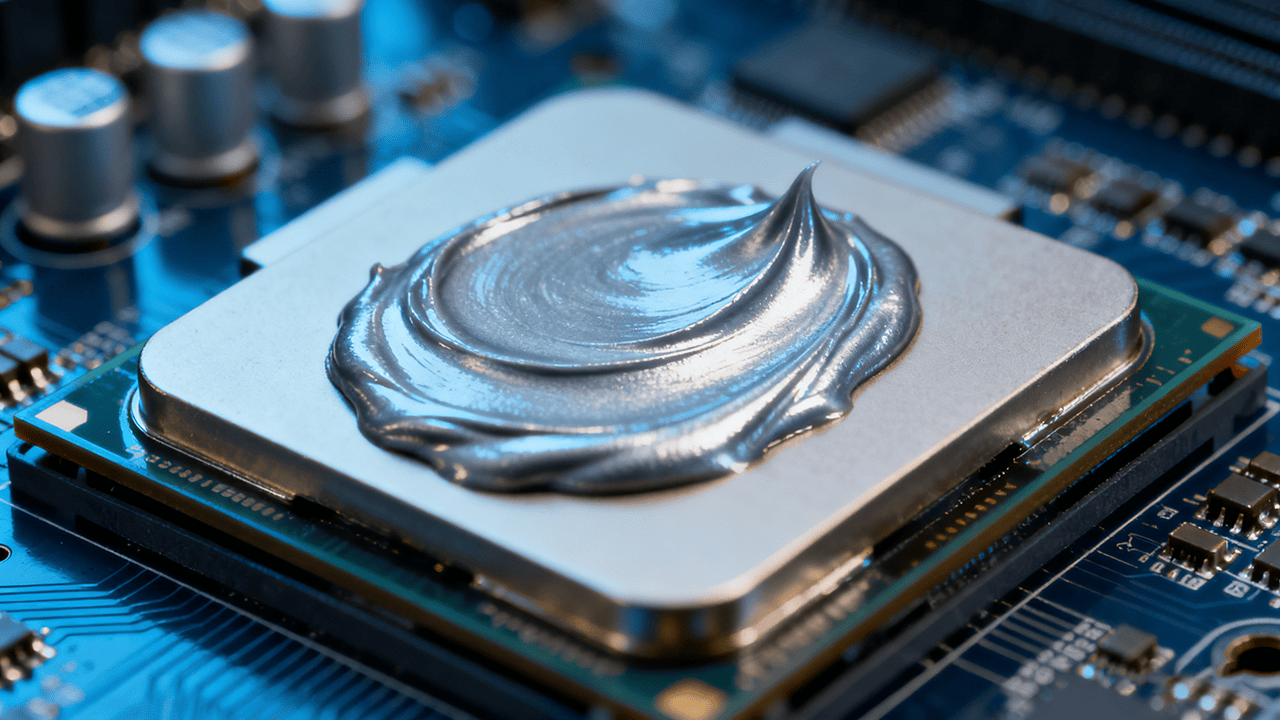
Thermal paste degrades over time, both in the tube and after it has been applied to the processor. It’s not a “set it and forget it” solution. Its job is to be a liquid-like material that fills incredibly small air voids, but after years of heat cycles, it can dry out, crack, and lose its ability to effectively conduct heat.
The lifespan of a thermal paste is not exactly fixed, and even the best quality compounds can prematurely stop working when exposed to the wrong conditions. Below, we have highlighted some common factors that could determine the lifespan of your thermal paste:
The Quality and Type of Thermal Paste
The most important factor that determines how long before a thermal paste expires, is the chemical composition of the paste itself. Different formulations are designed for varying levels of performance and durability.
- Standard Silicone-Based Pastes: These kinds of thermal pastes are usually the pre-applied pastes used in stock radiators. Standard silicone-based pastes are specifically produced for general use. They tend to dry out faster. This paste, in a typical home or office computer, is expected to have a lifespan of around 3 to 5 years.
- Metal-Based Pastes: They contain fine particles of zinc, aluminum, and sometimes silver. This helps to significantly improve the thermal conductivity of the pastes. Metal-based pastes are more durable, and are ideal for use in gaming systems. Typically, they are expected to last 5 to 7 years.
- Liquid Metal Compounds: The ultimate thermal interface material, liquid metal based thermal pastes are capable of providing unparalleled heat transfer. If applied properly, liquid metal compounds are expected to last between 7 to 10 years, sometimes even longer depending on the brand.
Let’s break it down again, here’s a quick-glance table:
| Paste Type | Composition | Typical Lifespan | Best For |
|---|---|---|---|
| Standard Silicone-Based | A silicone polymer base, often with zinc oxide fillers. | 3-5 years | Standard office and home PCs with light workloads. |
| Metal-Based | A synthetic polymer base containing fine particles of silver, aluminum, or zinc. | 5-7 years | Gaming systems, workstations, and high-performance builds. |
| Liquid Metal Compounds | A eutectic alloy, often of gallium, indium, and tin. | 7-10+ years | Delidded CPUs and enthusiast-grade systems for maximum overclocking. (Note: Electrically conductive) |
System Workload (CPU/GPU Temperatures)
How you use your computer has a major impact on the lifespan of the thermal paste applied. A computer that is used primarily for surfing websites and handling emails will result in heat low CPU temperatures. Under these situations, the thermal paste is subjected to less stress than in a CPU or GPU that is meant to handle heavy workloads.
Computers used to carry out demanding activities such as video rendering, 4K gaming, 3D modeling, and overclocking, tend to generate a lot of heat. Such frequent, high thermal levels will cause the thermal pastes to break down faster.
The Operating Environment
The operating environment of your PC, both internal and external, is very crucial. Elements such as insufficient airflow, dust accumulation, and high temperatures force give the cooling system more work to do. This results in a constant increase in temperature. To achieve long lasting results, the recommended operating environment for CPUs is a well-ventilated container in a cool room.
The Quality of the Initial Application
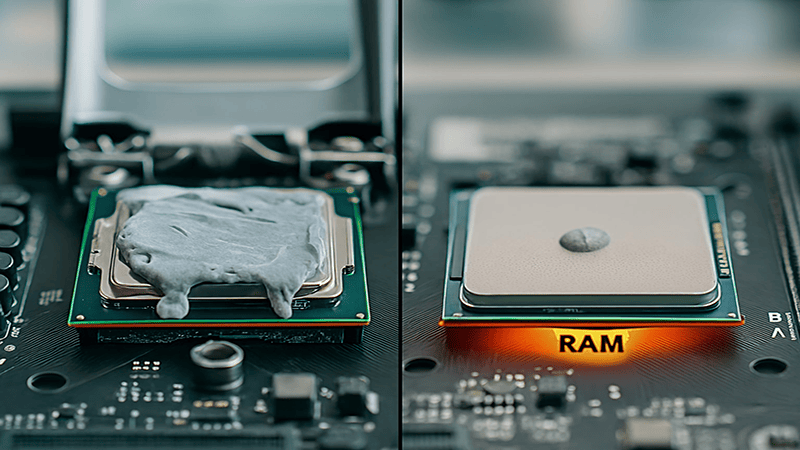
How well the initial compound application process goes, plays a major role in determining how long the thermal paste will last. Applying too much paste creates a thick and ineffective layer, affecting heat transfer, while applying too little leaves air bubbles. Both situations will negatively affect the health of the thermal interface solution. Having the perfect, thin layers is very important, this gives you an effective and longer lasting result.
Warning Signs: How to Know When You Need to Replace Thermal Paste
If there is anything computers do best, it is to let you know when something is wrong. They do this so you can easily identify issues before they become disturbing challenges. If the thermal paste in your CPU has exceeded it’s life expectancy and is due for replacement, here are some of the common signs you will see:
| The Warning Sign | What to Look Out For | Why It’s Happening |
|---|---|---|
| 📈 Rising CPU/GPU Temperatures | A gradual increase of CPU temperature, 10-15°C above its normal baseline, both in idle mode and when in use. There are free monitoring softwares online that can be used to system temperatures and identify these issues in its early stages. Examples of these software brands include HWMonitor and Core Temp. | The paste now lacks efficiency, as it can no longer transfer heat to the cooler |
| ☢️ Noisy or Overactive Fans | Sudden surge or burst of speed like that of jet engines, whenever you perform simple tasks. The fans spin faster, louder, and at more frequent intervals. | Your cooling system is working overtime, because the thermal paste has gone bad and is unable to properly facilitate the transfer of heat to the heatsink. |
| ⚠️ Performance Throttling and Instability | Unexplained stuttering in games, videos taking longer to finish rendering, system instability, or unexpected shutdown while in use. | Modern processors are equipped with thermal throttling, a process that involves the automatic slowing down of the system. It occurs whenever there’s overheating. |
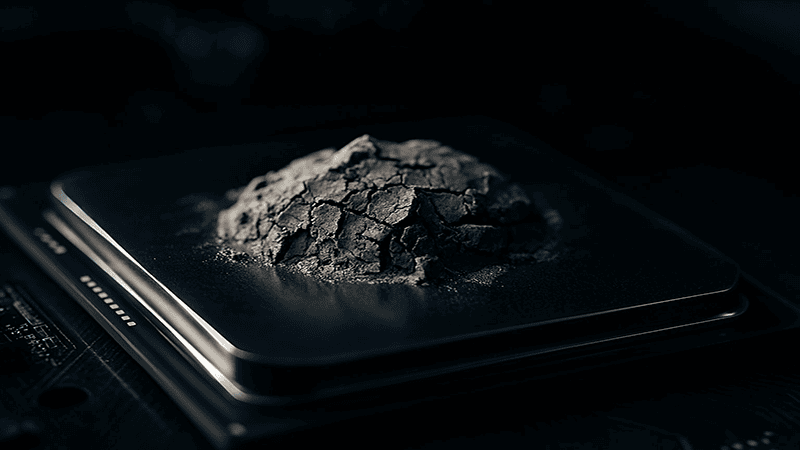
| 👁️ Visible Dry or Cracked Paste | Paste that appears dry, flaky, chalked, or looks cracked when you open your CPU board for cleaning, repair, or upgrading | A visible thermal paste decay is obvious because the compound has lost its required viscosity and necessary thermal properties. |
A Simple Step-by-Step Guide to Replacing Thermal Paste
While it may seem technical, the thermal paste replacement process is actually a simple, one that you can complete all by yourself. Simply follow the following steps:
- Shut Down and Prepare:
Firstly, you need to “Shut Down” your computer and unplug it from the power socket. We also advise that you leave it for 10-15 minutes after shutting down so it cools off.
- Remove the Cooler:
Open the hardware case of your PC, gently unscrew the four points around your CPU cooler to detach it. Some CPU models don’t require unscrewing the cooler, you just simply release a lever. Twist the cooler softly, breaking the seal, then carefully lift it straight up.
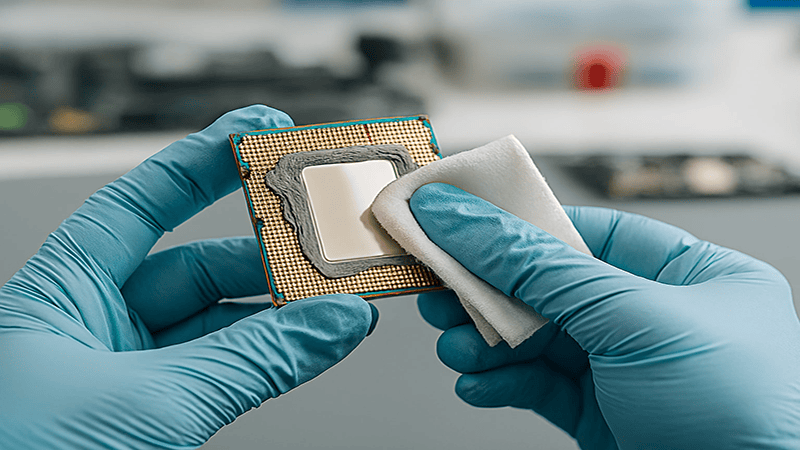
- Clean the Old Paste:
Please pay close attention to this step, as it is the most essential. Apply some isopropyl alcohol to a piece of lint-free fabric, use the fabric to gently wipe the surface where the old paste is. Wipe the entire surface repeatedly, from the top of the processor to the base of the cooler. Continue cleaning until everything is perfectly shiny, leaving no residue.
- Apply the New Paste:
Gently squeeze a small, light-texture, pea-sized amount of fresh thermal paste directly into the center of the processor. And that’s it, you don’t even need to do any spreading after reapplying thermal paste. The pressure while you replace the cooler back will help spread it into a thin, perfect layer.
- Reattach the Cooler and Test:
Place the heat sink back in the processor, ensuring that the mounting holes are conveniently aligned. Tighten the screws using a cross or star pattern, taking each turn to tighten one screw at a time.
This helps to evenly distribute the pressure. Once everything is set, you can now plug in your computer, turn it back on, and start testing for improved performance.
Conclusion

Thermal interface management and thermal paste maintenance is not exclusive to professionals alone, in fact, it is a fundamental knowledge. By understanding what influences the lifespan of thermal pastes and recognizing clear signs of failure in them, you can quickly take the lead to ensure the health, efficiency, and longevity of your CPU and GPU.
Don’t let an aging thermal paste slow you down with overheating issues, get the advanced thermal interface solutions from JIUJU and keep operations running smoothly. You can contact our team of experts to get an instant quote for your thermal paste wholesale today!
FAQs
Q: How often should you replace thermal pastes in your CPU?
A: For average users who only surf the web, send emails and edit light files; thermal paste lasts between 3-5 years. For gamers and video edits; about 2-3 years. While for overclockers and other extreme users, endeavor to replace thermal pastes of your cpu every 1-2 years.
Q: What happens when you neglect old paste replacement signals?
A: At first absolutely nothing! But over time, it gets worse, CPU performance dips, till your entire system finally packs up and there’s no way to restore it.
Q: Aside from bad thermal paste, what else could cause overheating in my CPU?
A: Other elements that can cause overheating in your CPU, that is not expired thermal paste, include dust buildup, poor ventilation/airflow, failing hardware, etc.
Q: Why did my PC temperatures get worse despite replacing my thermal paste?
A: In many cases, the reason for this is usually that you did not mount the cooler properly. In cases such as this, you will need to remount the cooler.

